Tools You'll Need
Sharp scissors or pruning shears.
Rubbing alcohol for sterilizing tools.
A clean cloth or paper towel.
Optional gardening gloves.
A small pot if you plan to propagate spiderettes.
Always clean cutting tools before and after pruning to reduce the risk of spreading disease.
What Parts Can Be Pruned?
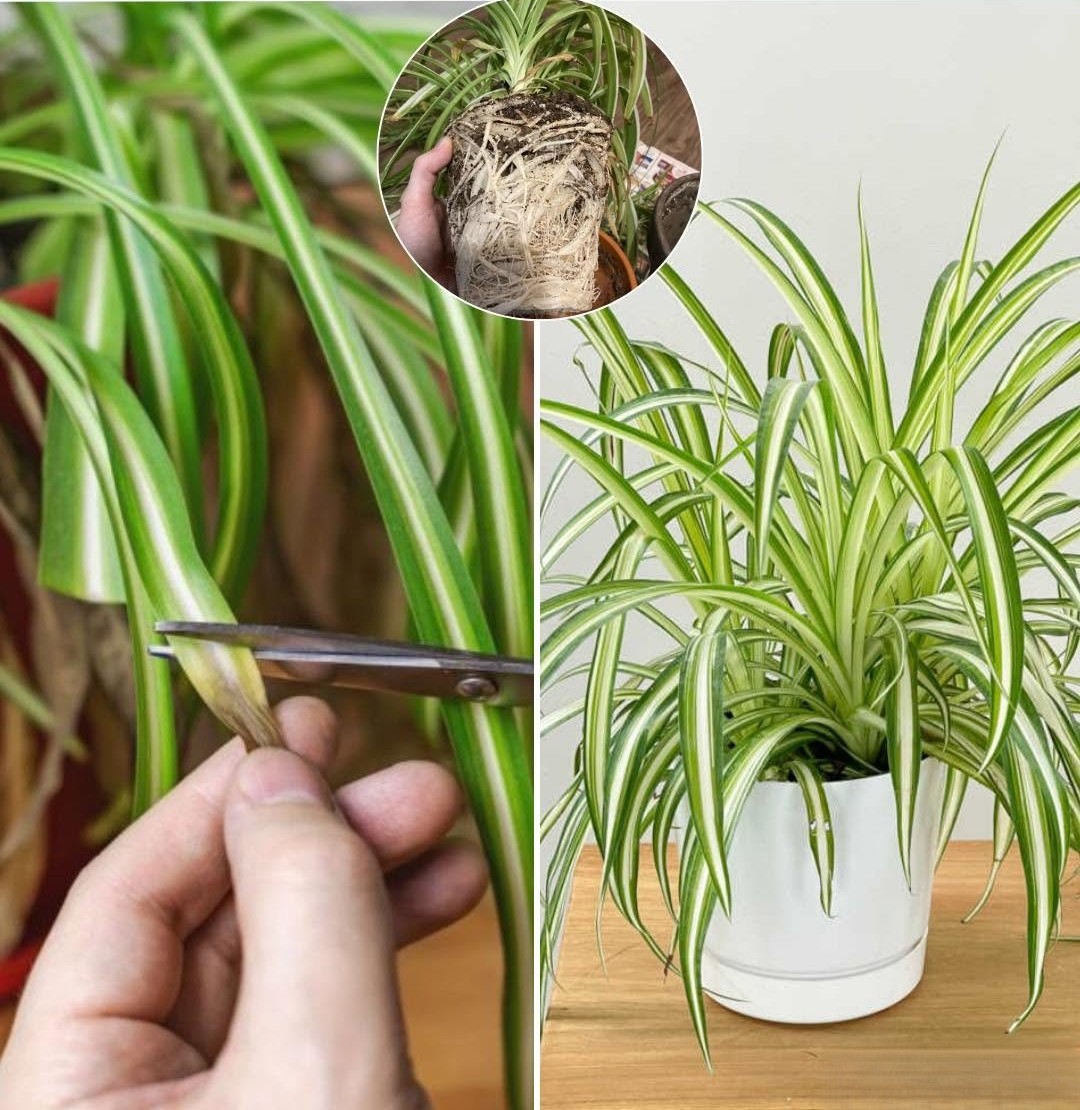
Brown-Tipped Leaves
One of the most common issues with spider plants is brown leaf tips.
If only the tip is affected, trim just the brown portion while preserving the natural shape of the leaf.
If a leaf is mostly brown or damaged, remove it entirely at the base.
Yellow or Aging Leaves
Older leaves naturally decline over time.
Removing them improves airflow and creates space for fresh growth.
Spiderettes and Runners
The long stems that produce baby plants can be trimmed if they become excessive or if you wish to propagate new plants.
Spent Flower Stalks
Spider plants occasionally produce small white flowers.
Once flowering is finished, dried stalks can be removed to maintain a tidy appearance.
How to Prune a Spider Plant Step by Step
Step 1: Inspect the Plant
Examine the entire plant carefully.
Look for:
Brown tips.
Yellow leaves.
Damaged foliage.
Overcrowded growth.
Excessive runners.
Step 2: Sterilize Your Tools
Wipe blades thoroughly with rubbing alcohol before beginning.
Step 3: Remove Damaged Leaves
Trim unhealthy leaves as close to the base as possible.
For minor browning, remove only the affected tip.
Step 4: Thin Excess Growth
If the plant has become overcrowded, selectively remove some older outer leaves.
This helps improve airflow and encourages vigorous new growth.
Avoid removing more than 25% of the foliage during a single pruning session.
Many gardeners prune spider plants not only for appearance but also to multiply their collection. The next step explains how to use pruning as an opportunity for propagation.